


Back to School Pictures
& How to take Better Pictures of your Kids on the 1st Day!
The First Day of School
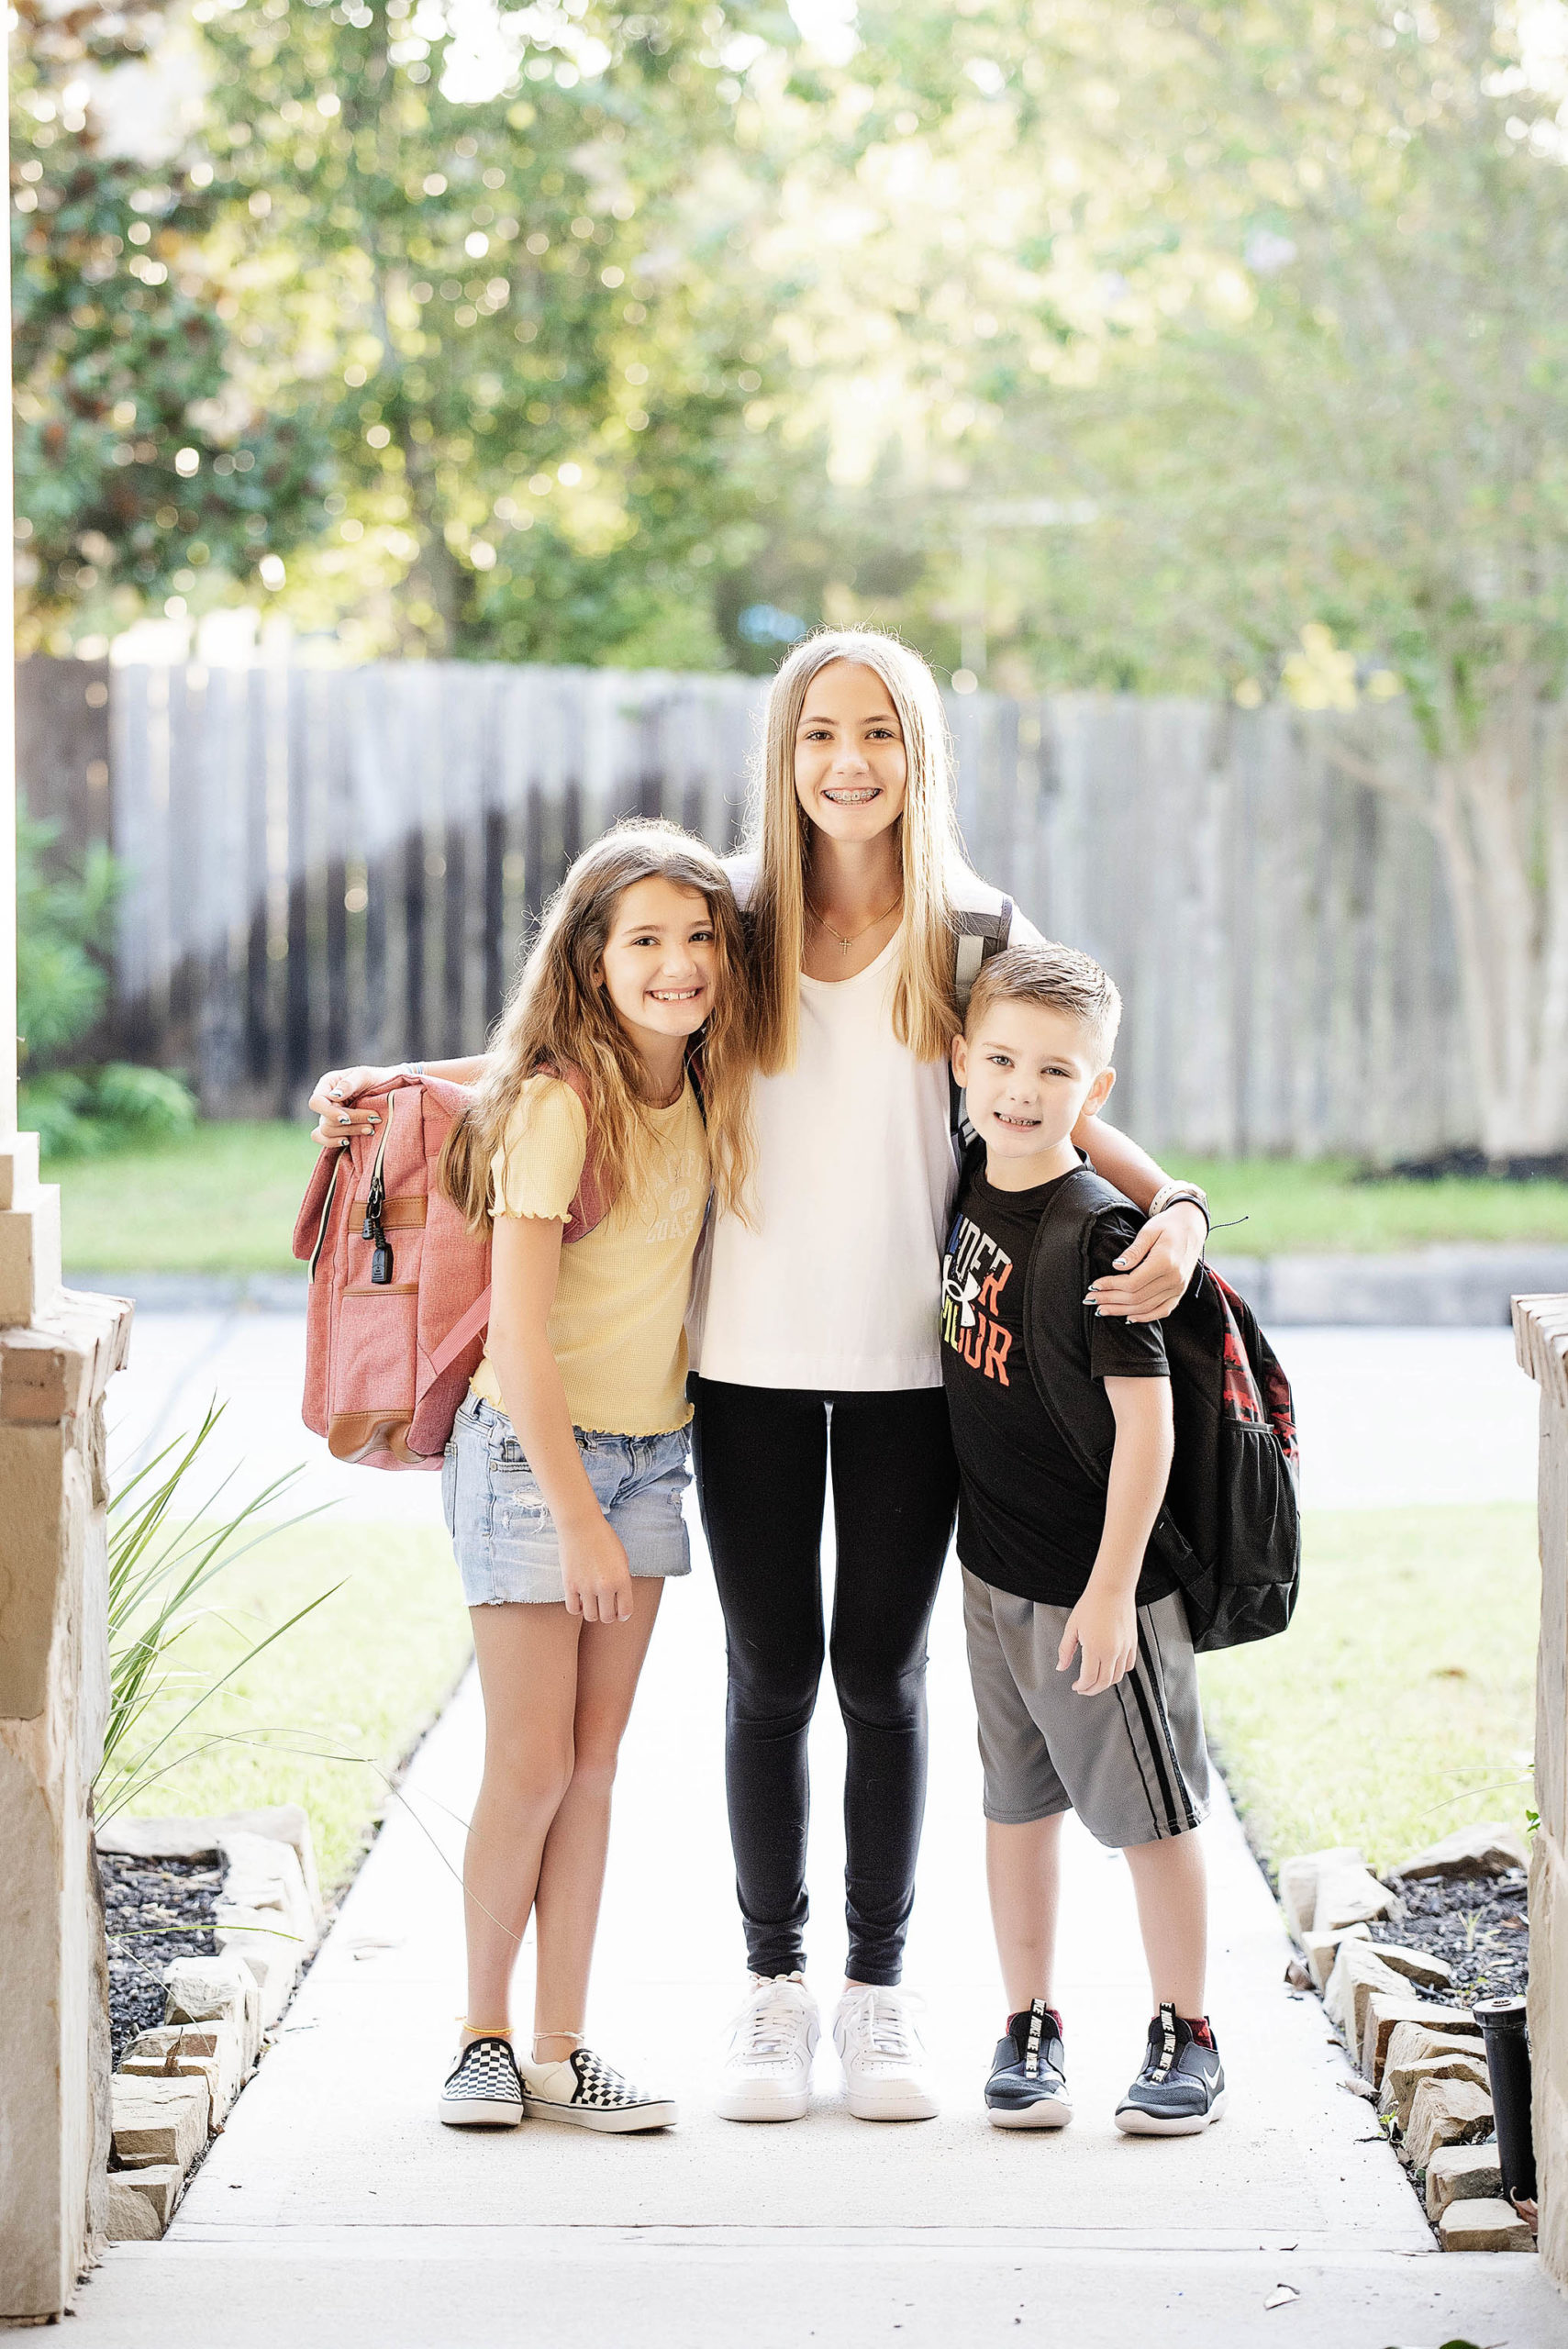
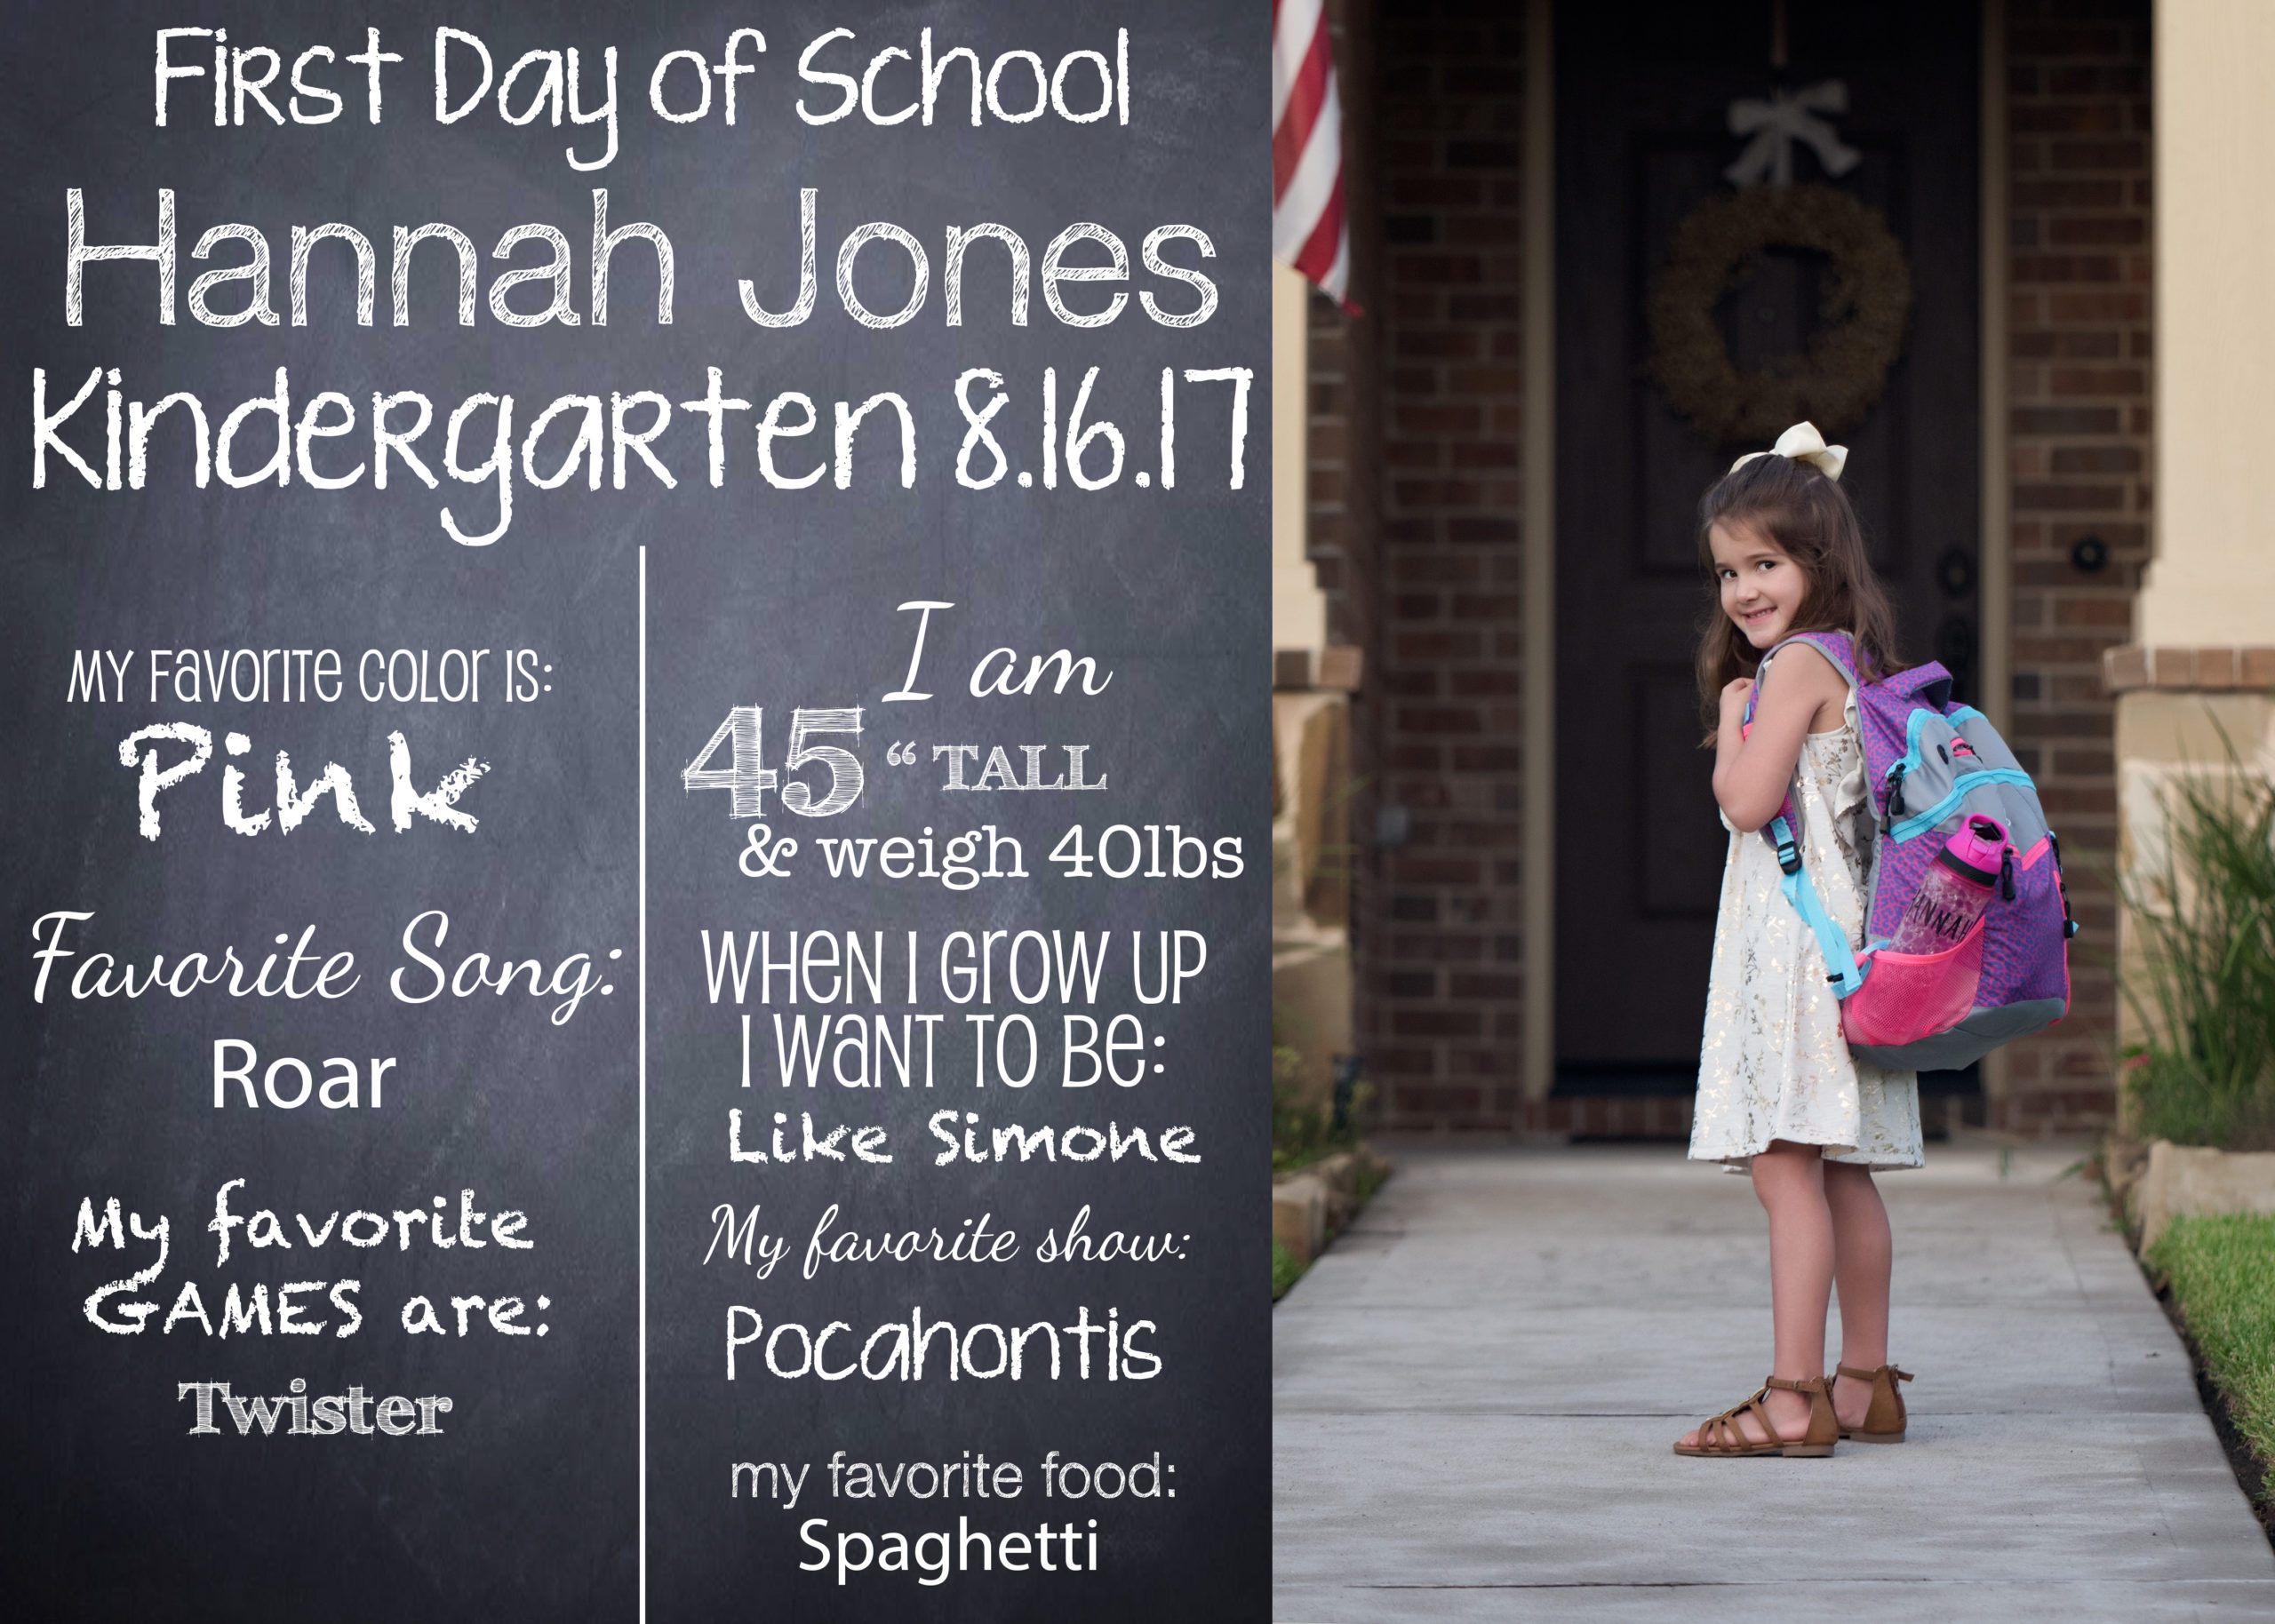
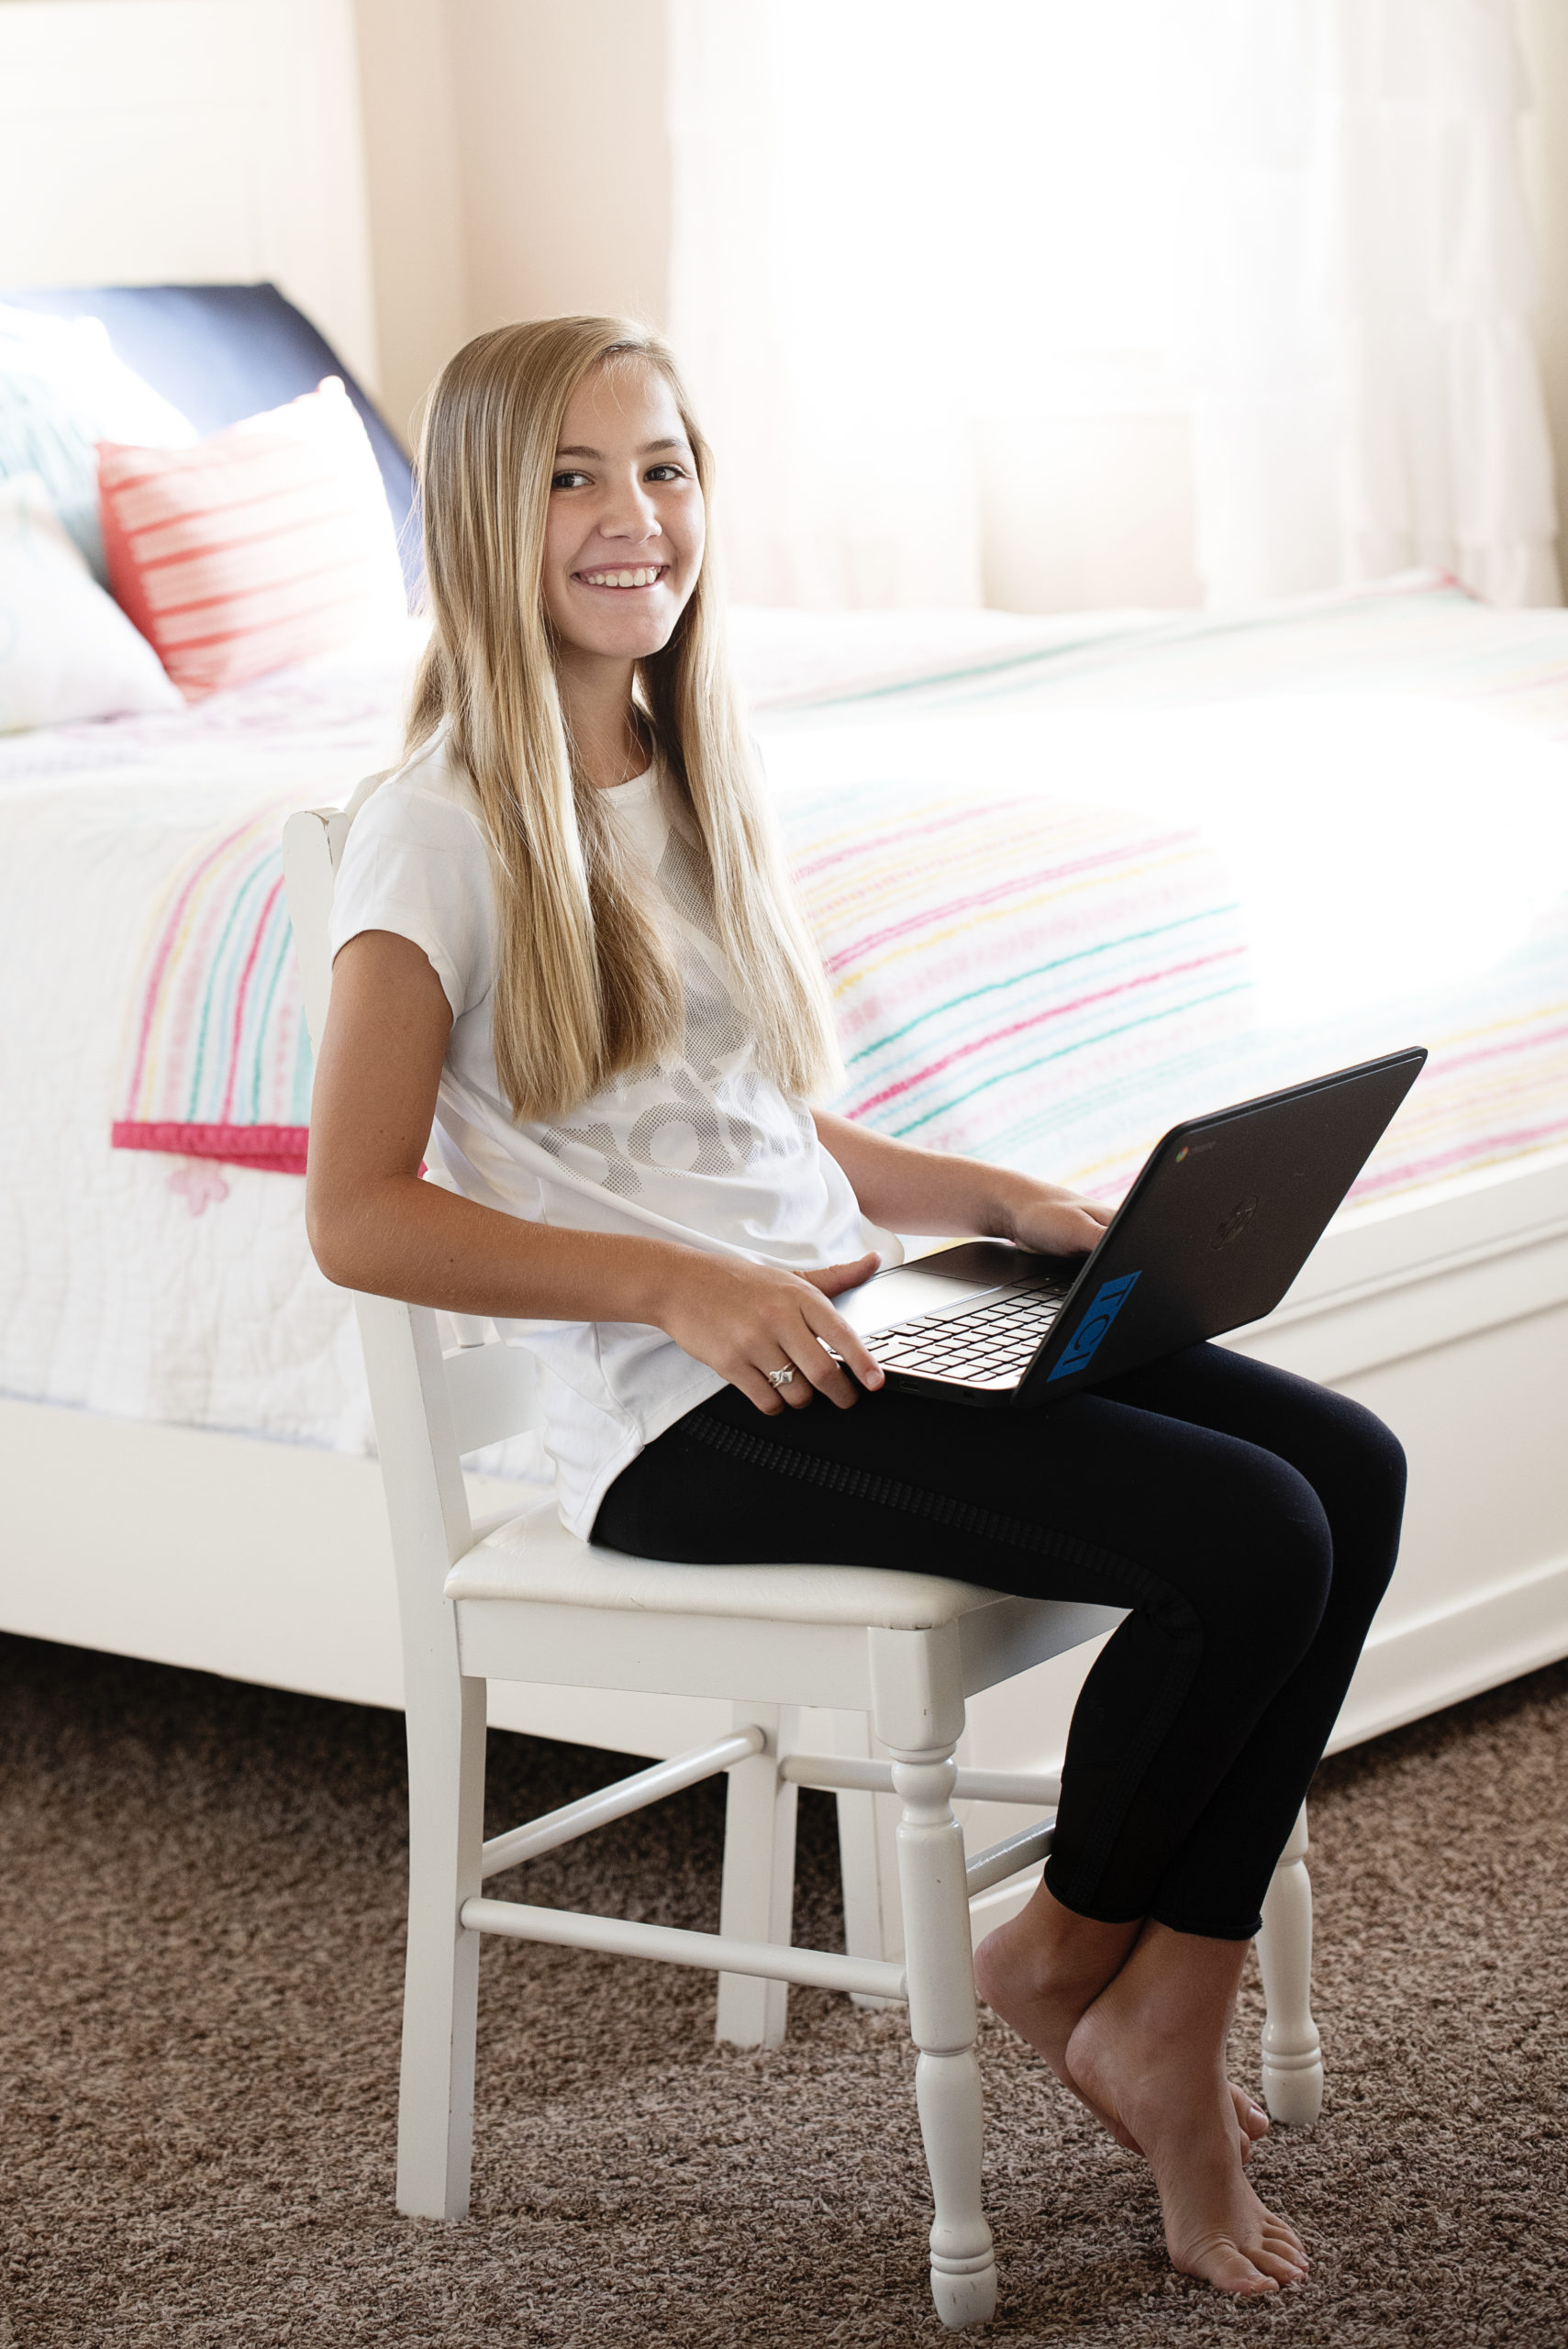
I’m sitting here on August 4th, and can’t believe that my kids start school on Wednesday! This summer has flown by and my mind is spinning thinking about all of the things I need to do before next week. As a mom of 3, I am absolutely that photographer “Mom” that takes pictures of my kids on the first day of school. After I post them online, people always reach out and ask how I took them. It’s really super easy, and I made a quick list of tips for you below.
Your Camera
To begin, if you have a a fancy camera that lives on your shelf, get it out and use it! The lens that came with it is probably fine, and it will be a good excuse to enjoy it. If you have a lens that is wide, like a 35-50mm; that will be great, just make your aperture or F-stop around 2.0 (or as low as your lens will let you go.) I usually use my 70-200 to get that blurry background that we call bokeh; and my lens goes down to 2.8.
Your Phone
If you don’t have a big fancy camera, just use your iphone, sometimes I do too ;).
Outside
To begin, if you want to take pictures of the kids outside, make sure that you are in the shade! If you are outside in the full sun, more than likely the kids will be squinting, and the light will probably be so bright that it blows your highlights. This means that you can’t see a lot of details in the picture because the light was too bright.
Helpful Tips
1 – Find shade.
2 – Turn the kids away from the sun so it’s not shining right in their eyes.
3 – Settings. Your ISO will probably be around 100-200 (if you are outside), F-Stop around 2.0, and then adjust your shutter accordingly.
4 – iphone Settings. Just tap on the phone… on the kids face… and it will adjust the light for you.
Inside
If you are inside, and you want to take pictures indoors, just be sure to adjust your settings.
Indoor Tips
1 – Find natural light. The less light = the more grain in your picture (you don’t want that.) Have your kids stand by a window if you can.
2 – Turn off the overhead-lights. The lights in your home are usually pretty warm, making the colors more yellow and orange, so it usually helps to turn all house lights off.
3 – Indoor Settings. Start with your F-Stop or aperture. I would go as low as your lens lets you. If you have a prime lens like a 35, go down to 1.4 or 1.8, wherever it lets you. Next, Adjust your shutter speed to as low as you can; I typically don’t go lower than 250 if I’m holding the camera. Next, adjust your ISO accordingly.
4 – iphone Settings. Again, just tap on the screen for the phone to focus and adjust the light for their face.
Post & Share
After the kids are off to school, you can sit down at your computer and upload the pictures to your computer. You can edit them on your phone first, or you can get creative with lightroom or photoshop. I usually upload to lightroom, then open the picture I love the most in photoshop… I’ll usually do a little curves bump, and then save for web.
Next, I’ll post a picture on my instagram, that connects to my facebook page and it just pops up there too.
After you post, be sure to hop online and like and comment on all of the cute pics that morning!
Contact Shannon
I hope this all helps! If you have questions please feel free to reach out! I’m always happy to help!
Lots of Love,
Shannon